SKU #10597
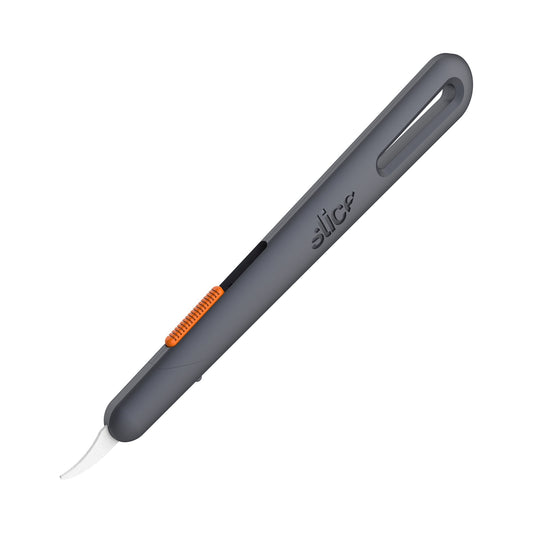
Taglia asole retrattile automatico
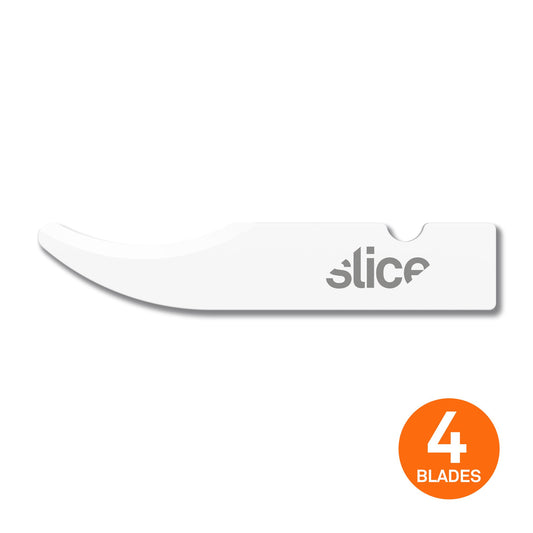
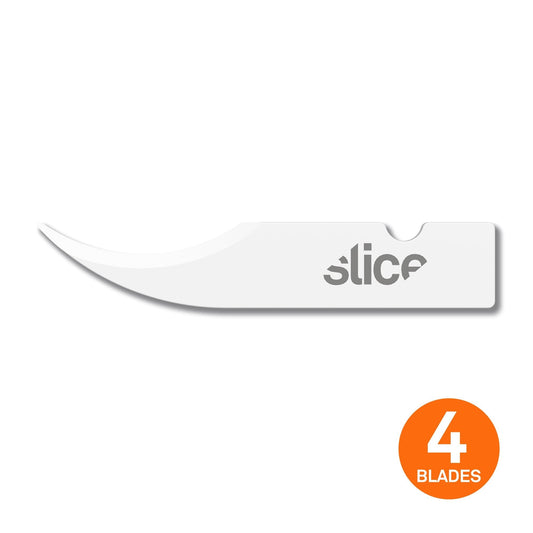
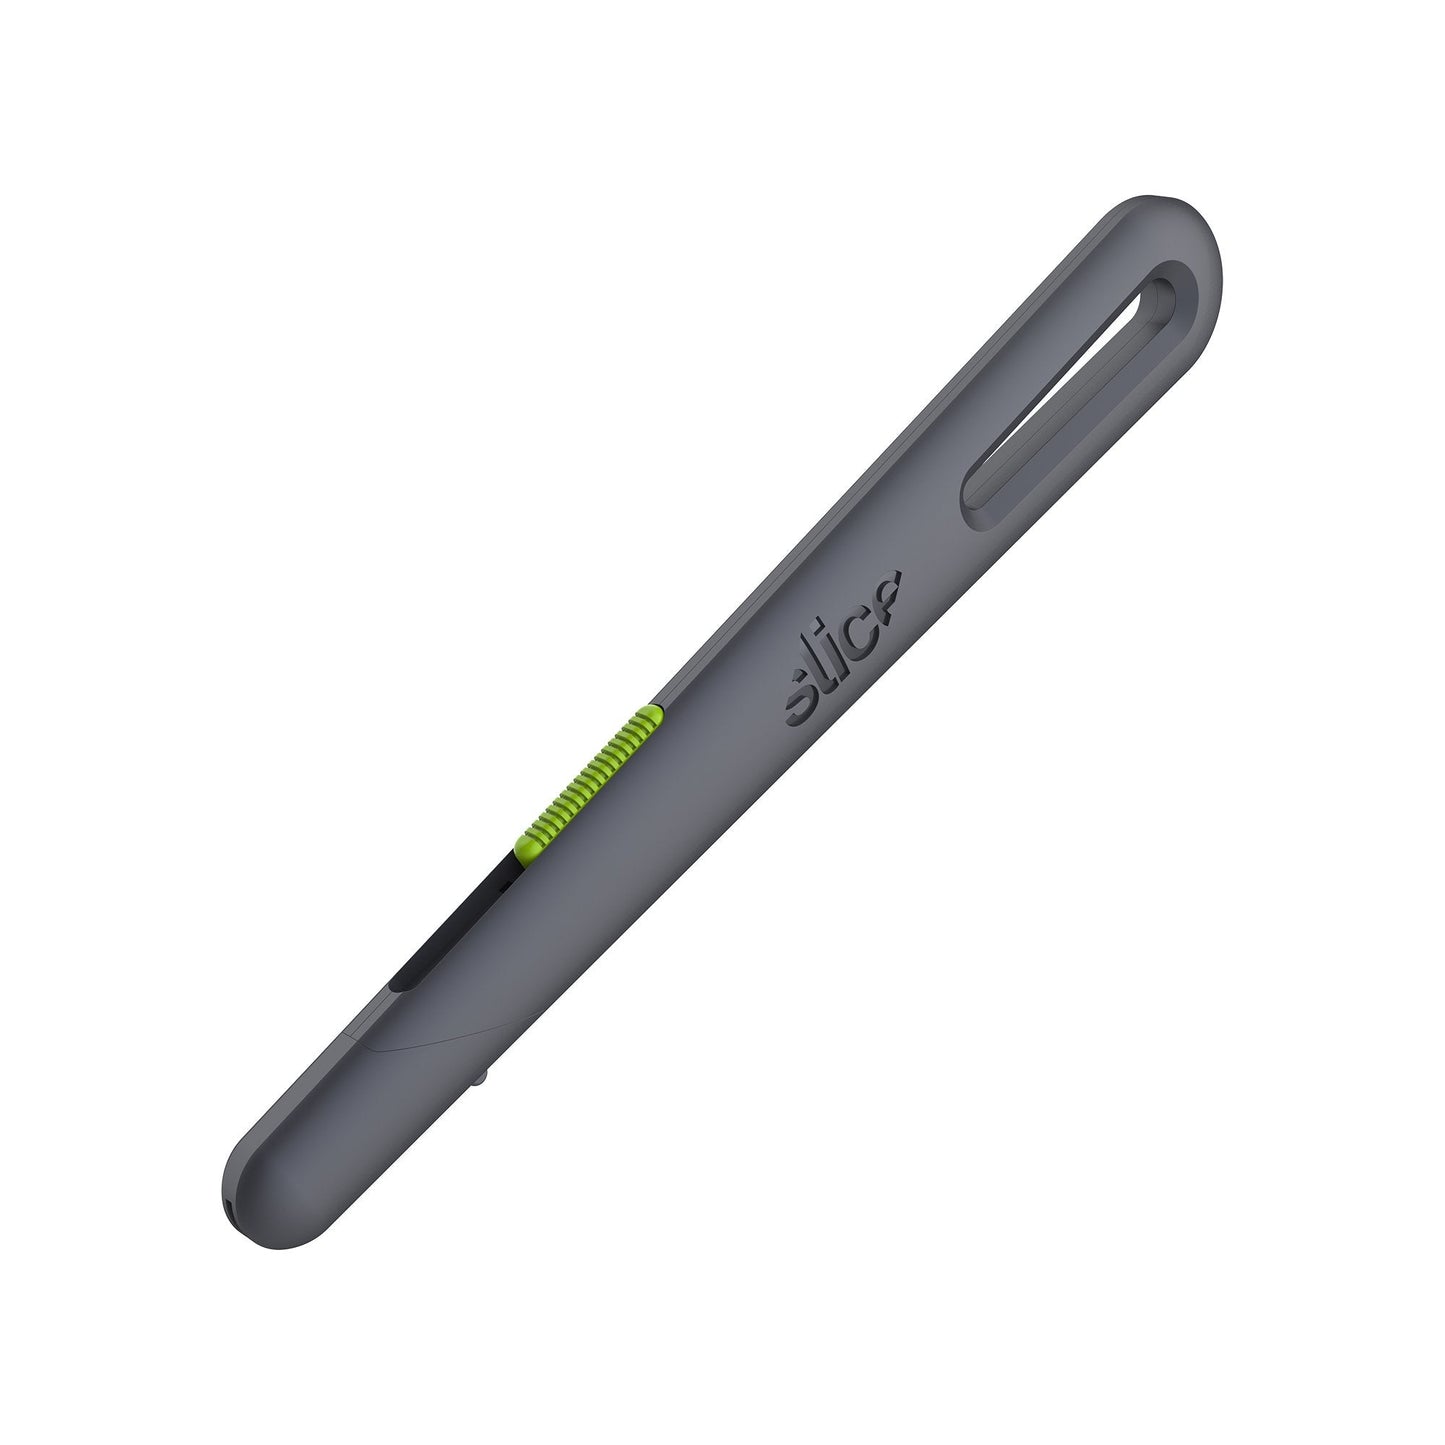
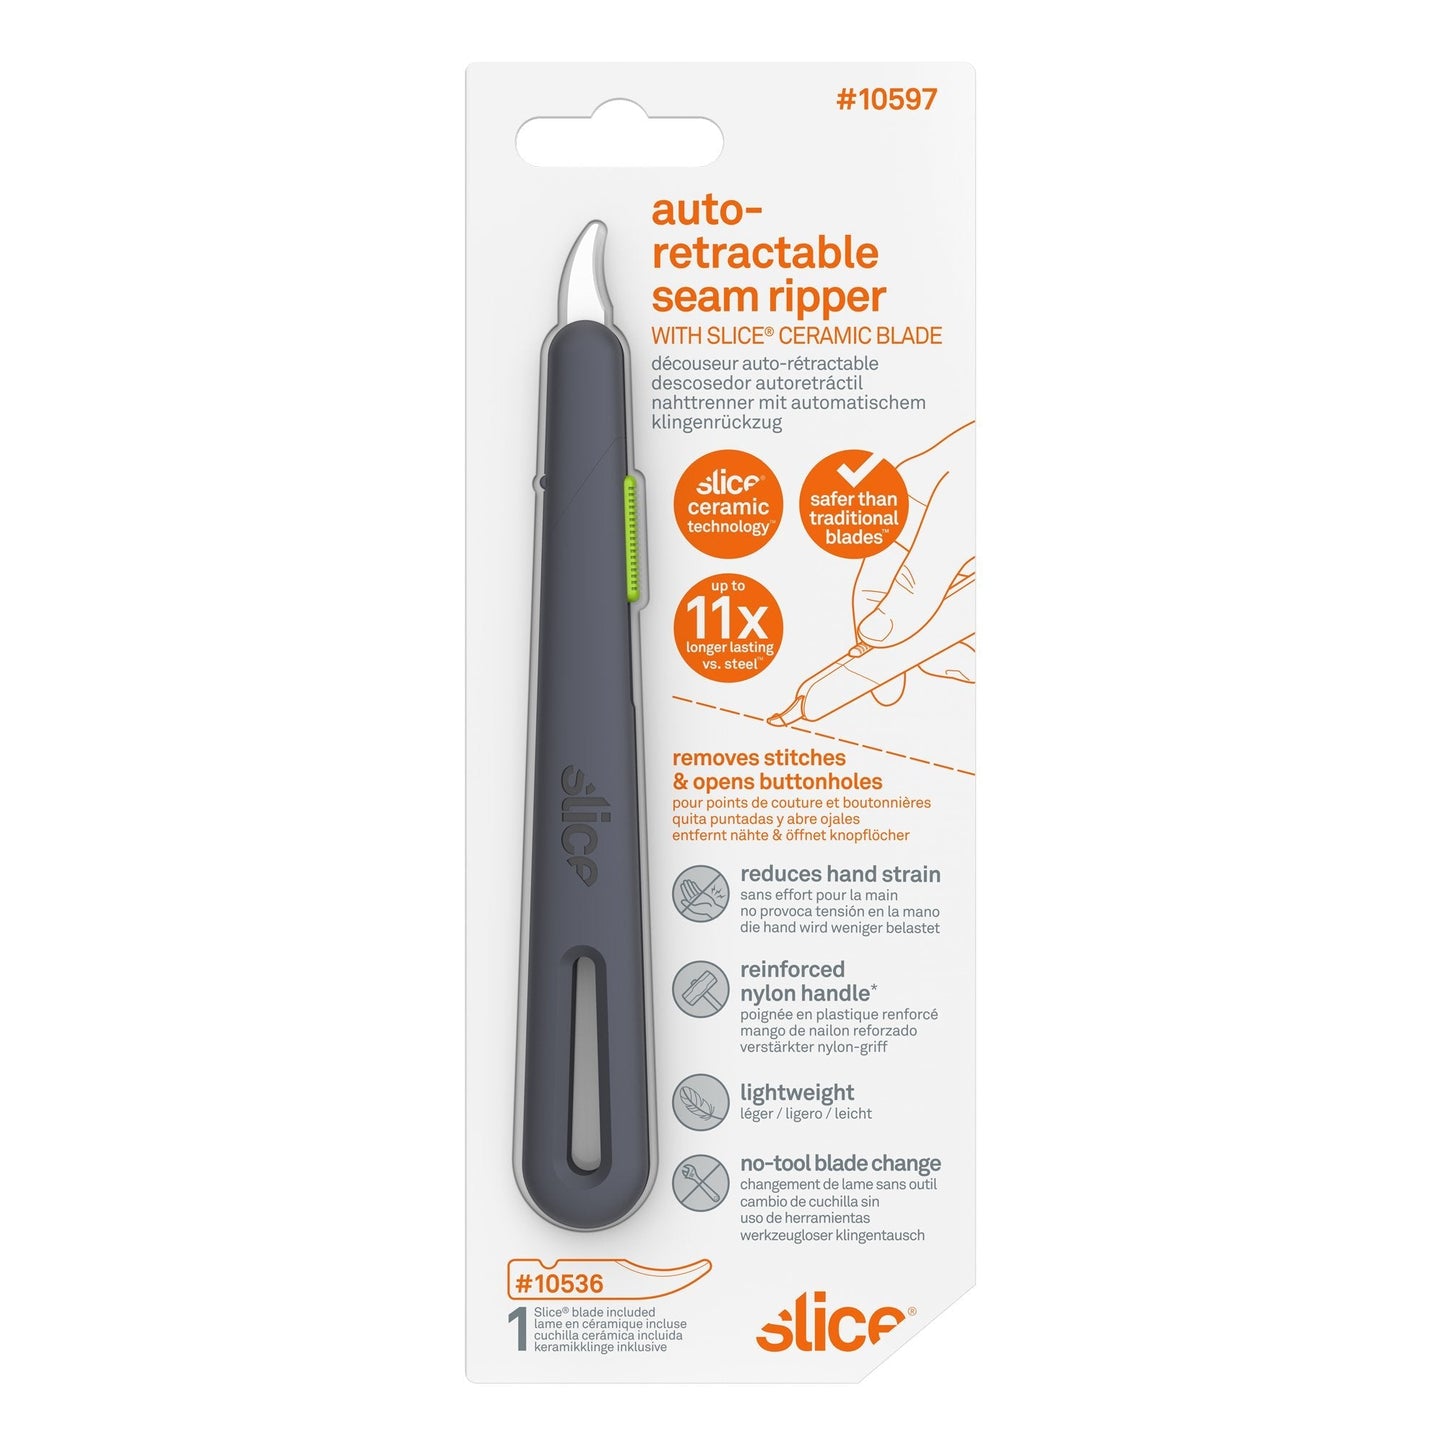
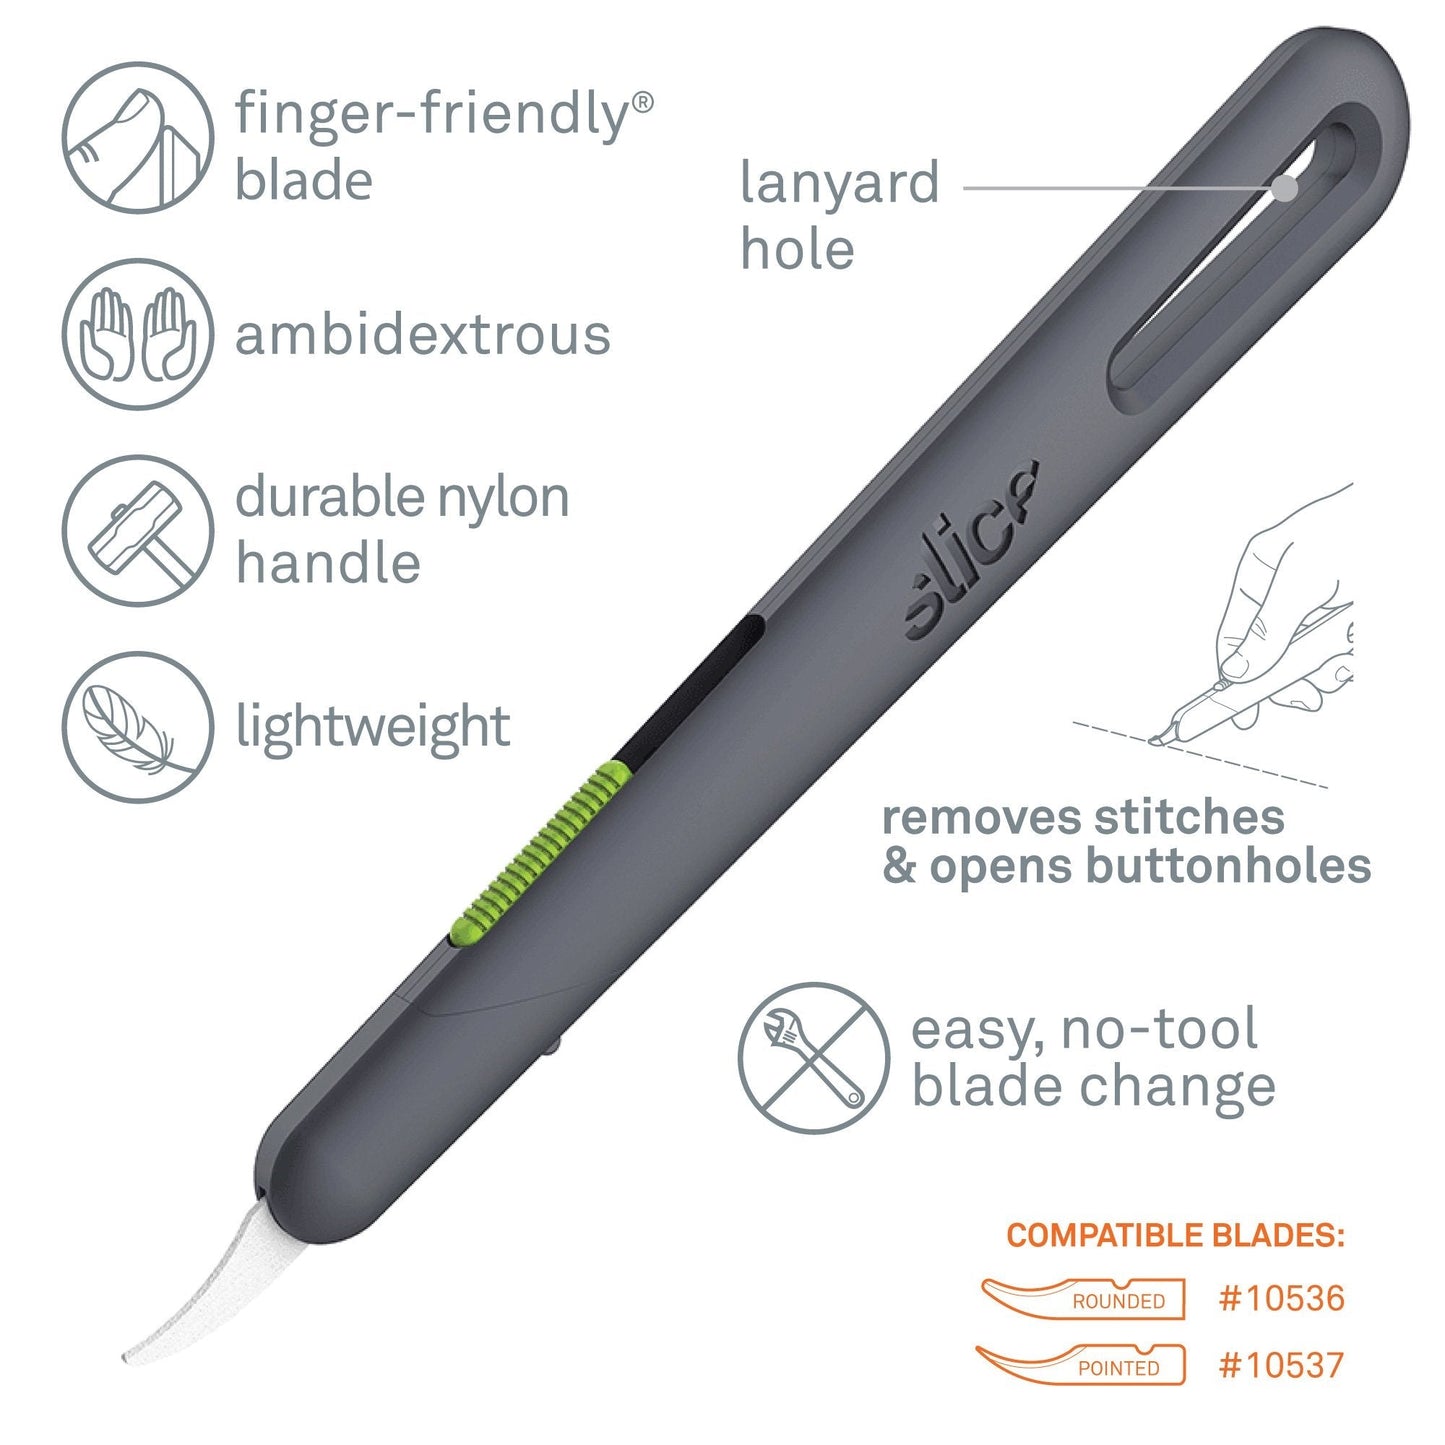
Il taglia asole retrattile automatico Slice® 10597 è ideale per le industrie in cui non è consentito l’uso di lame fisse, o per chiunque è alla ricerca di un’alternativa più sicura rispetto ai taglia asole manuali. Anche se i taglia asole retrattili automatici sono già disponibili sul mercato, Slice ha introdotto la prima versione con lame in ceramica avanzata. E dato che le lame sono in ceramica di sicurezza Slice, presentano l’affilatura brevettata finger-friendly®. L’impugnatura del taglia asole Slice è lunga e sottile ed è realizzata in nylon con fibra di vetro duraturo. Compatibile con le lame per taglia asole a punta e con punta arrotondata.
- Tipo di lama installata: 10536 Lama per taglia asole (punta arrotondata)
- Impugnatura in nylon duraturo
- Per mancini e destrorsi
- Lame compatibili: 10536, 10537
- Lama finger-friendly® che dura 11 volte di più rispetto al metallo
- Chimicamente inerte, non arrugginisce mai
- Non produce scintille, non conduce elettricità, non magnetica
- Non necessita di lubrificanti
- Riduce gli incidenti, diminuisce i costi
- Sostituzione lama senza uso di strumenti aggiuntivi
- SKU #10597
Great for:
- Cutting string and thread
- Removing stitches and opening buttonholes
- Deburring soft plastics
- Hooking and slicing film
Product Specifications
Product Specifications
Cutting Depth:
Material: GFN, POM, stainless steel, carbon steel, zirconium oxide
Dimensions: L x W x H
Weight: 0.03 kg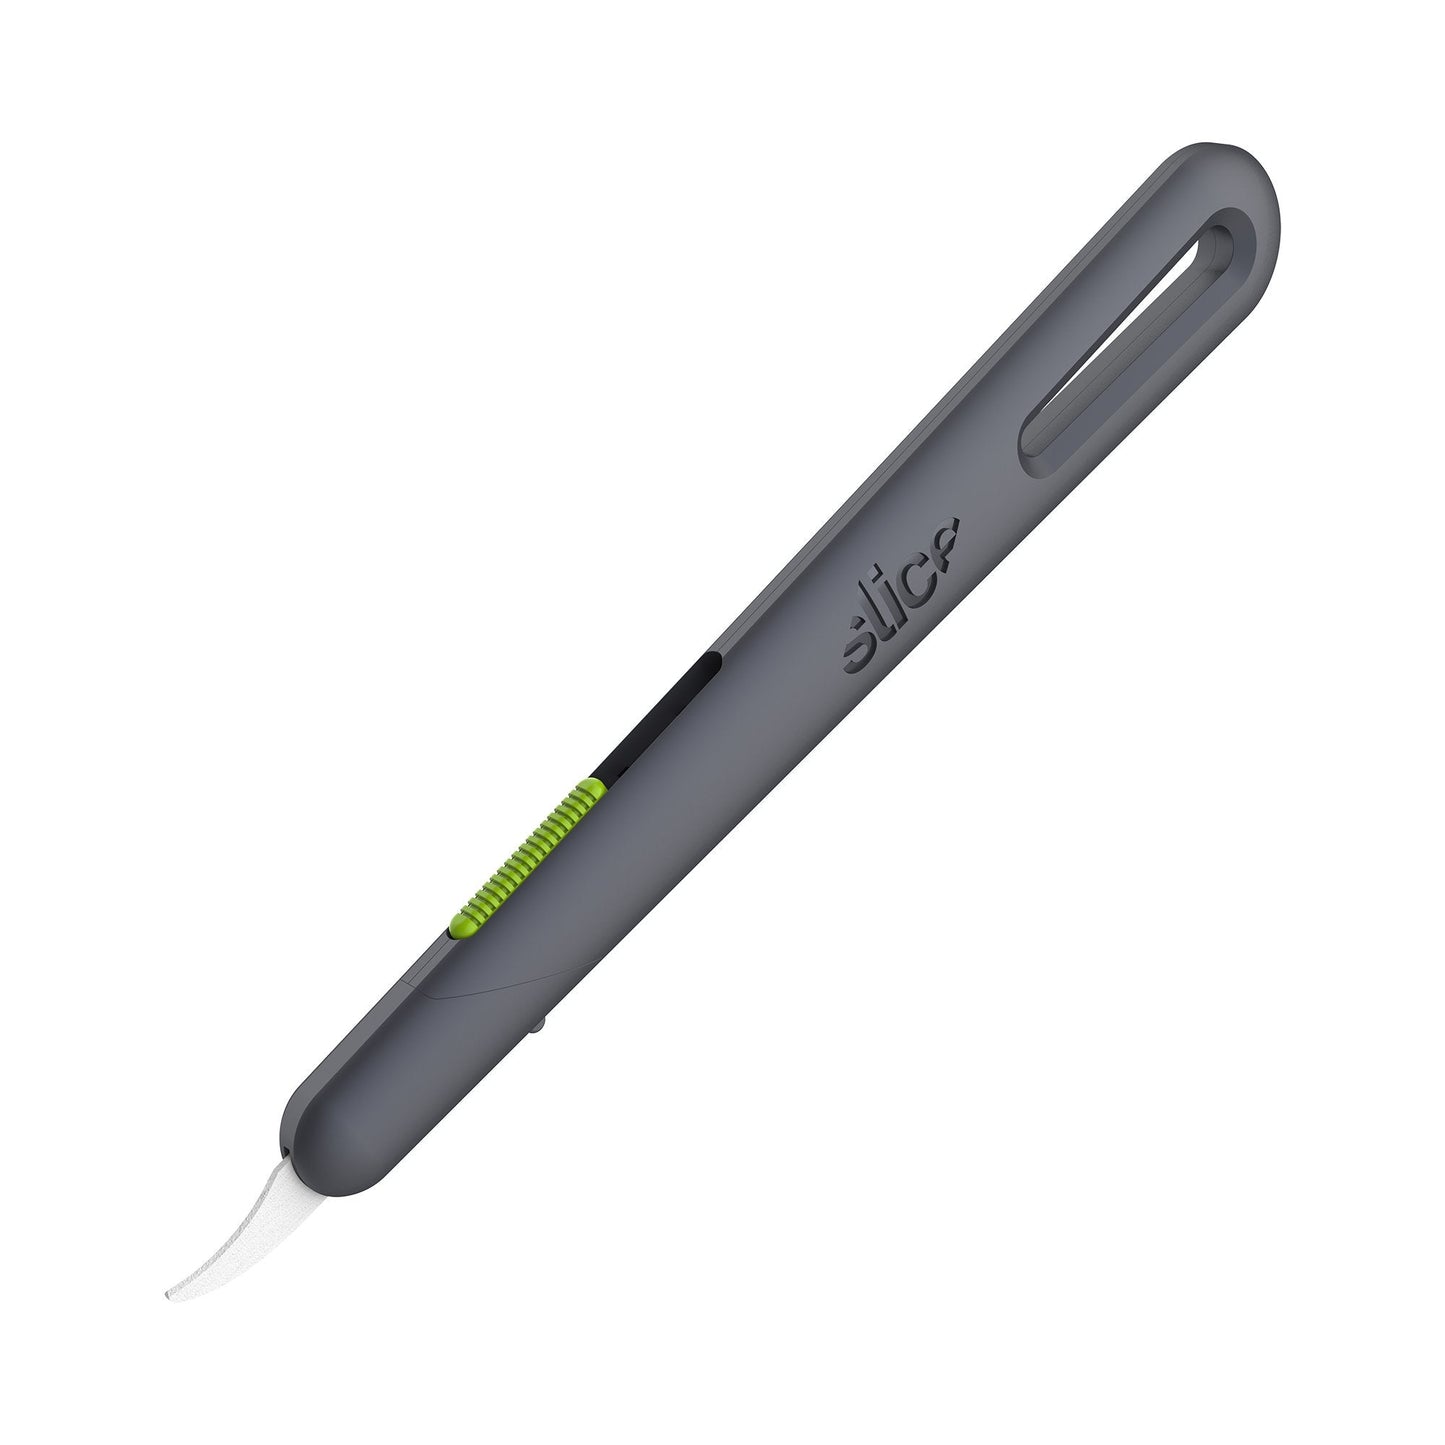
Videos
-
Blade Replacement for Slice Seam Rippers
Related Products
FAQ
What Are the Most Popular Retractable Seam Ripper Uses?
How Is the Slice Auto-Retractable Seam Ripper Unique?
Which Blades Should I Use?
How Do I Change the Blade in the 10597 Seam Ripper?
1) Hold the seam ripper so that the slider is on top and the small grey nub is on the bottom.
2) Make sure the blade is fully retracted, as the blade-change cap cannot be removed when the blade is extended.
3) To remove the blade-change cap, push in the grey nub with your thumb and tilt the bottom of the cap away from the handle, as though there is an invisible hinge between the top of the cap and the top of the handle. Pull the cap away.
4) Once the cap is removed, extend the blade fully and remove it from its (green/orange) housing.
5) Place the new blade in the housing, ensuring that the notch lines up properly.
6) Retract the blade fully and replace the blade-change cap by hinging it back on with the same angle you used to remove it.


